Git integration
For scripts saved in Git repositories, Itential Automation Gateway (IAG) has a process to import those scripts from those various repositories.
“Git” refers to the use of GitHub, GitLab, Bitbucket, and other Git-based code integration/management tools.
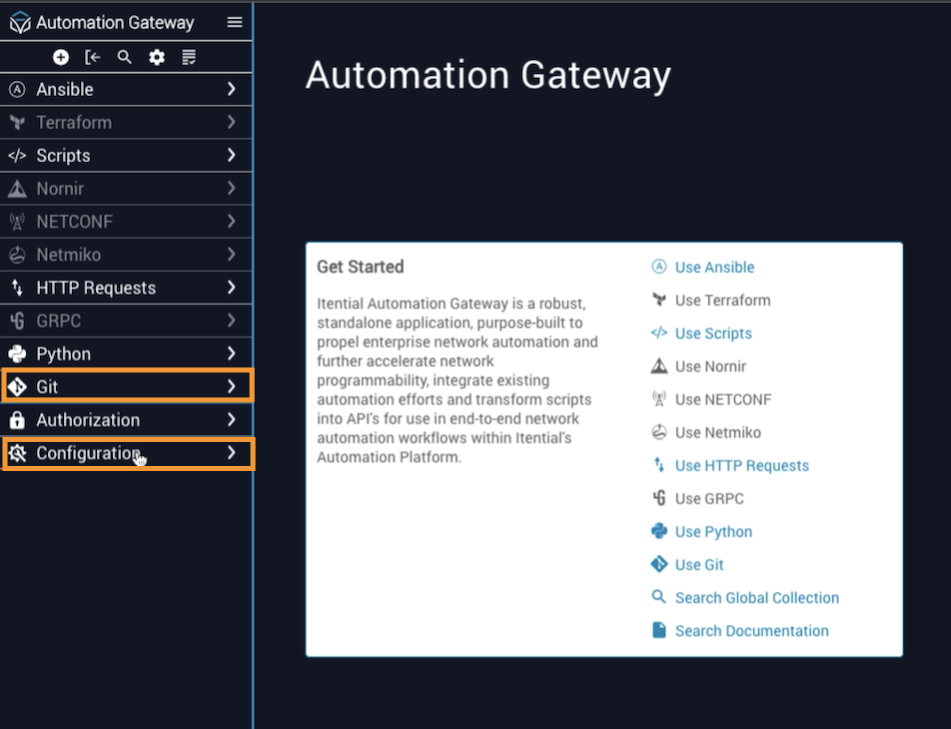
Git in IAG
The primary Git tab is located in the left navigation menu of IAG. Alternatively, it is also listed under the Configuration tab.
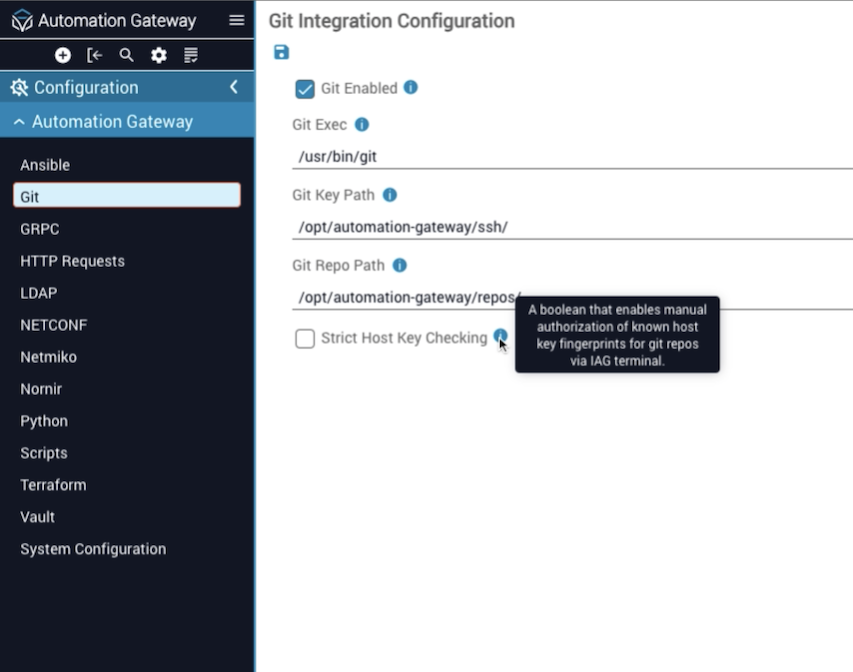
Configure Git integration
From the Configuration tab, you can click Git to display the Git Integration Configuration modal, with configuration fields for Git Exec, Git Key Path, and Git Repo Path.
Strict Host Key Checking is an available option that will automatically check for a known host with an SSH key. If this option is checked, further manual action is required. You will need to check the server terminal to select “Yes” if the SSH key is a trusted key.
Create an SSH key
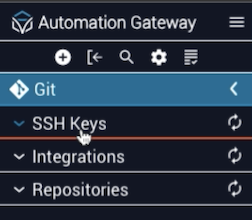
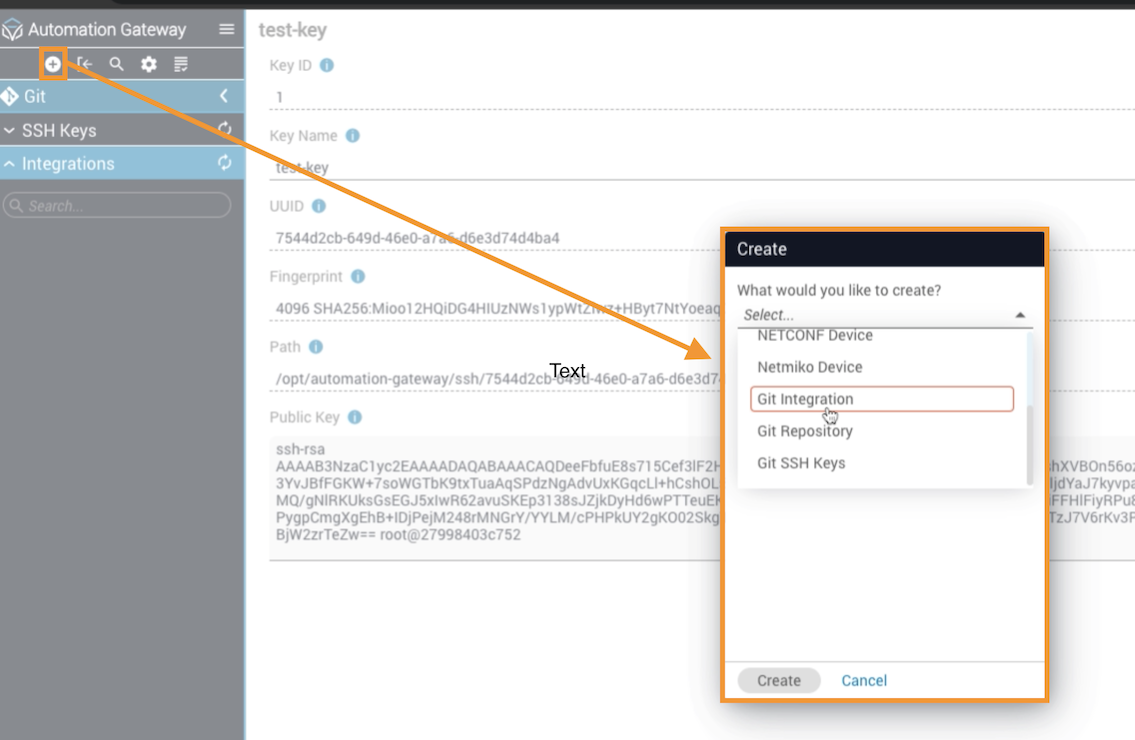
When you click the Git tab in the left navigation menu of IAG, a dropdown list for SSH Keys, Integrations, and Repositories displays.
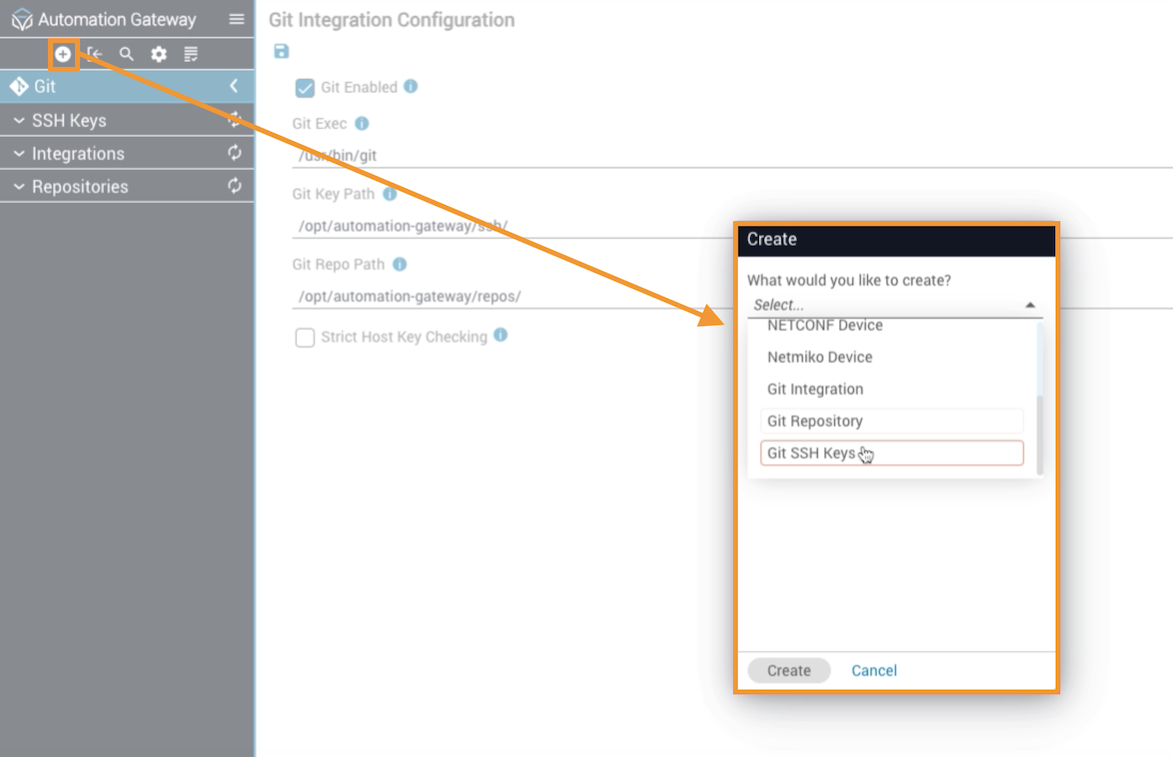
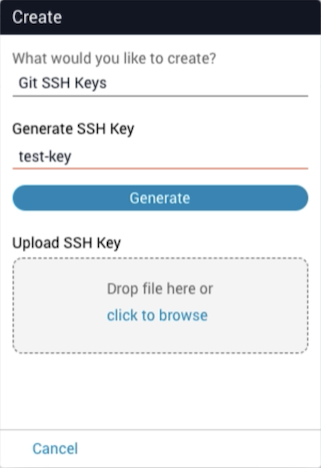
Open the Create dialog
Click the ”+” in the top toolbar to open the Create dialog box. Scroll down and select Git SSH Keys.
Generate the key
Enter a name for the key under Generate SSH Key. Then click the Generate button.
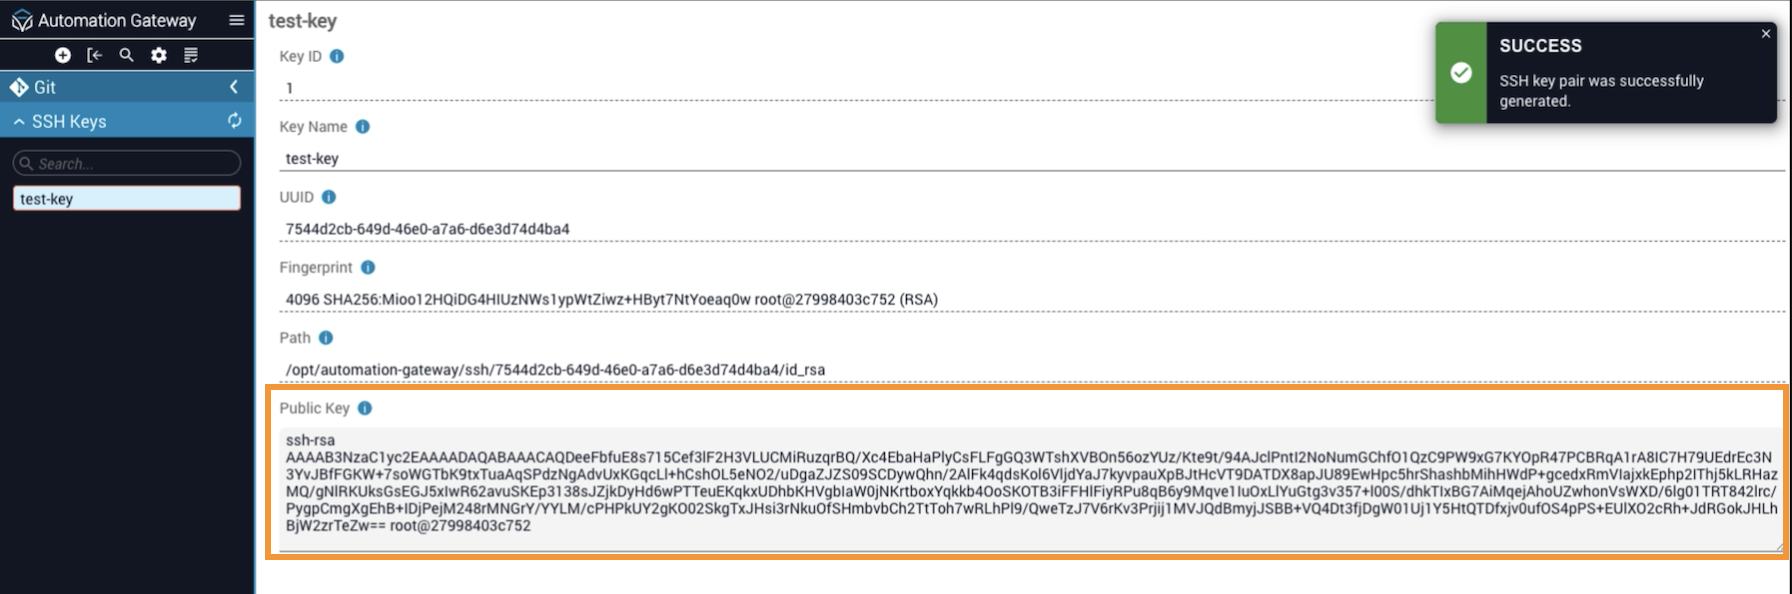
View the generated key
An SSH key will be generated and a message banner displays in the upper right corner to confirm the SSH key pair was successfully generated. Click on SSH Keys in the left navigation bar. The newly generated key will display in the Public Key box with the name it was given. You will be able to view the SSH key and copy/paste it into Git.
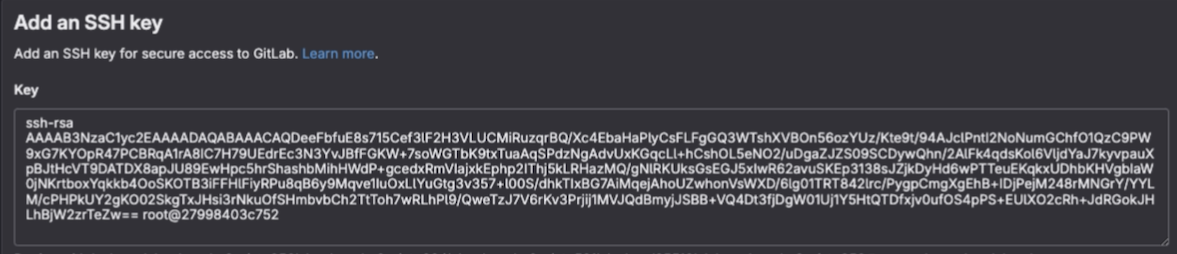
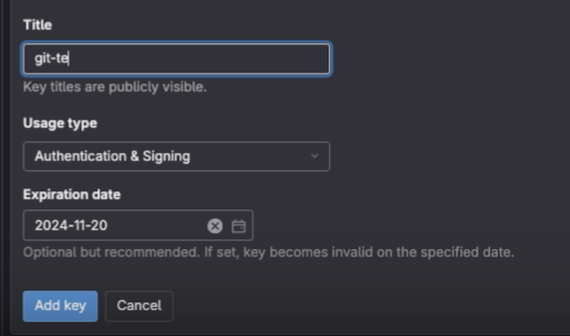
Add an SSH key
After creating the key, go to your Git CI/CD platform (e.g., GitLab) and access the appropriate section to set up your SSH Keys.
Create a Git integration
Create a new integration
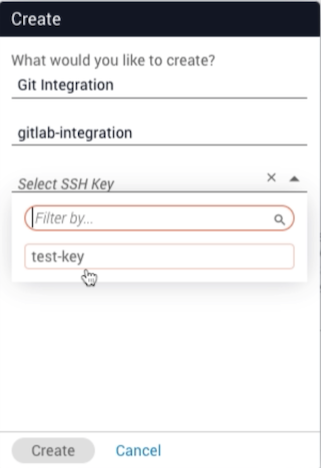
Click the ”+” in the top toolbar to open a Create dialog box and then select Git Integration from the dropdown list.
Name and configure the integration
Type in a name for the integration. Then select the name of the SSH key that was created from above. Click Create.
Save changes
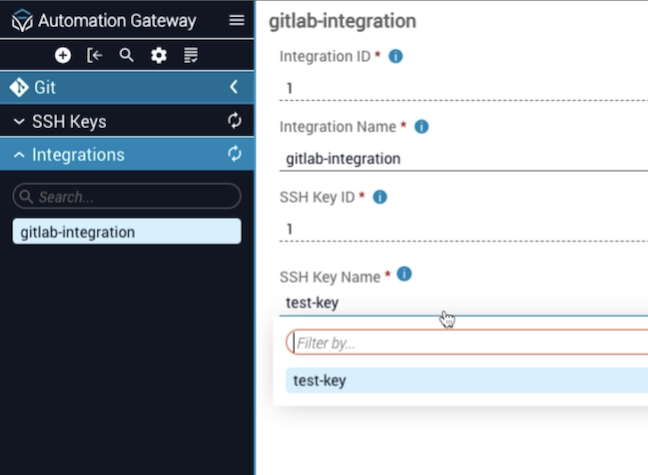
Click the name of the Git integration in the sidenav menu to display information pertaining to the integration and the SSH key being used. Click the search bar under SSH Key Name to display a dropdown list of names of any SSH keys that are stored. This allows you to change the integration to another key that has been created. Click Save at the bottom of the page to keep any changes.
Create a Git repository
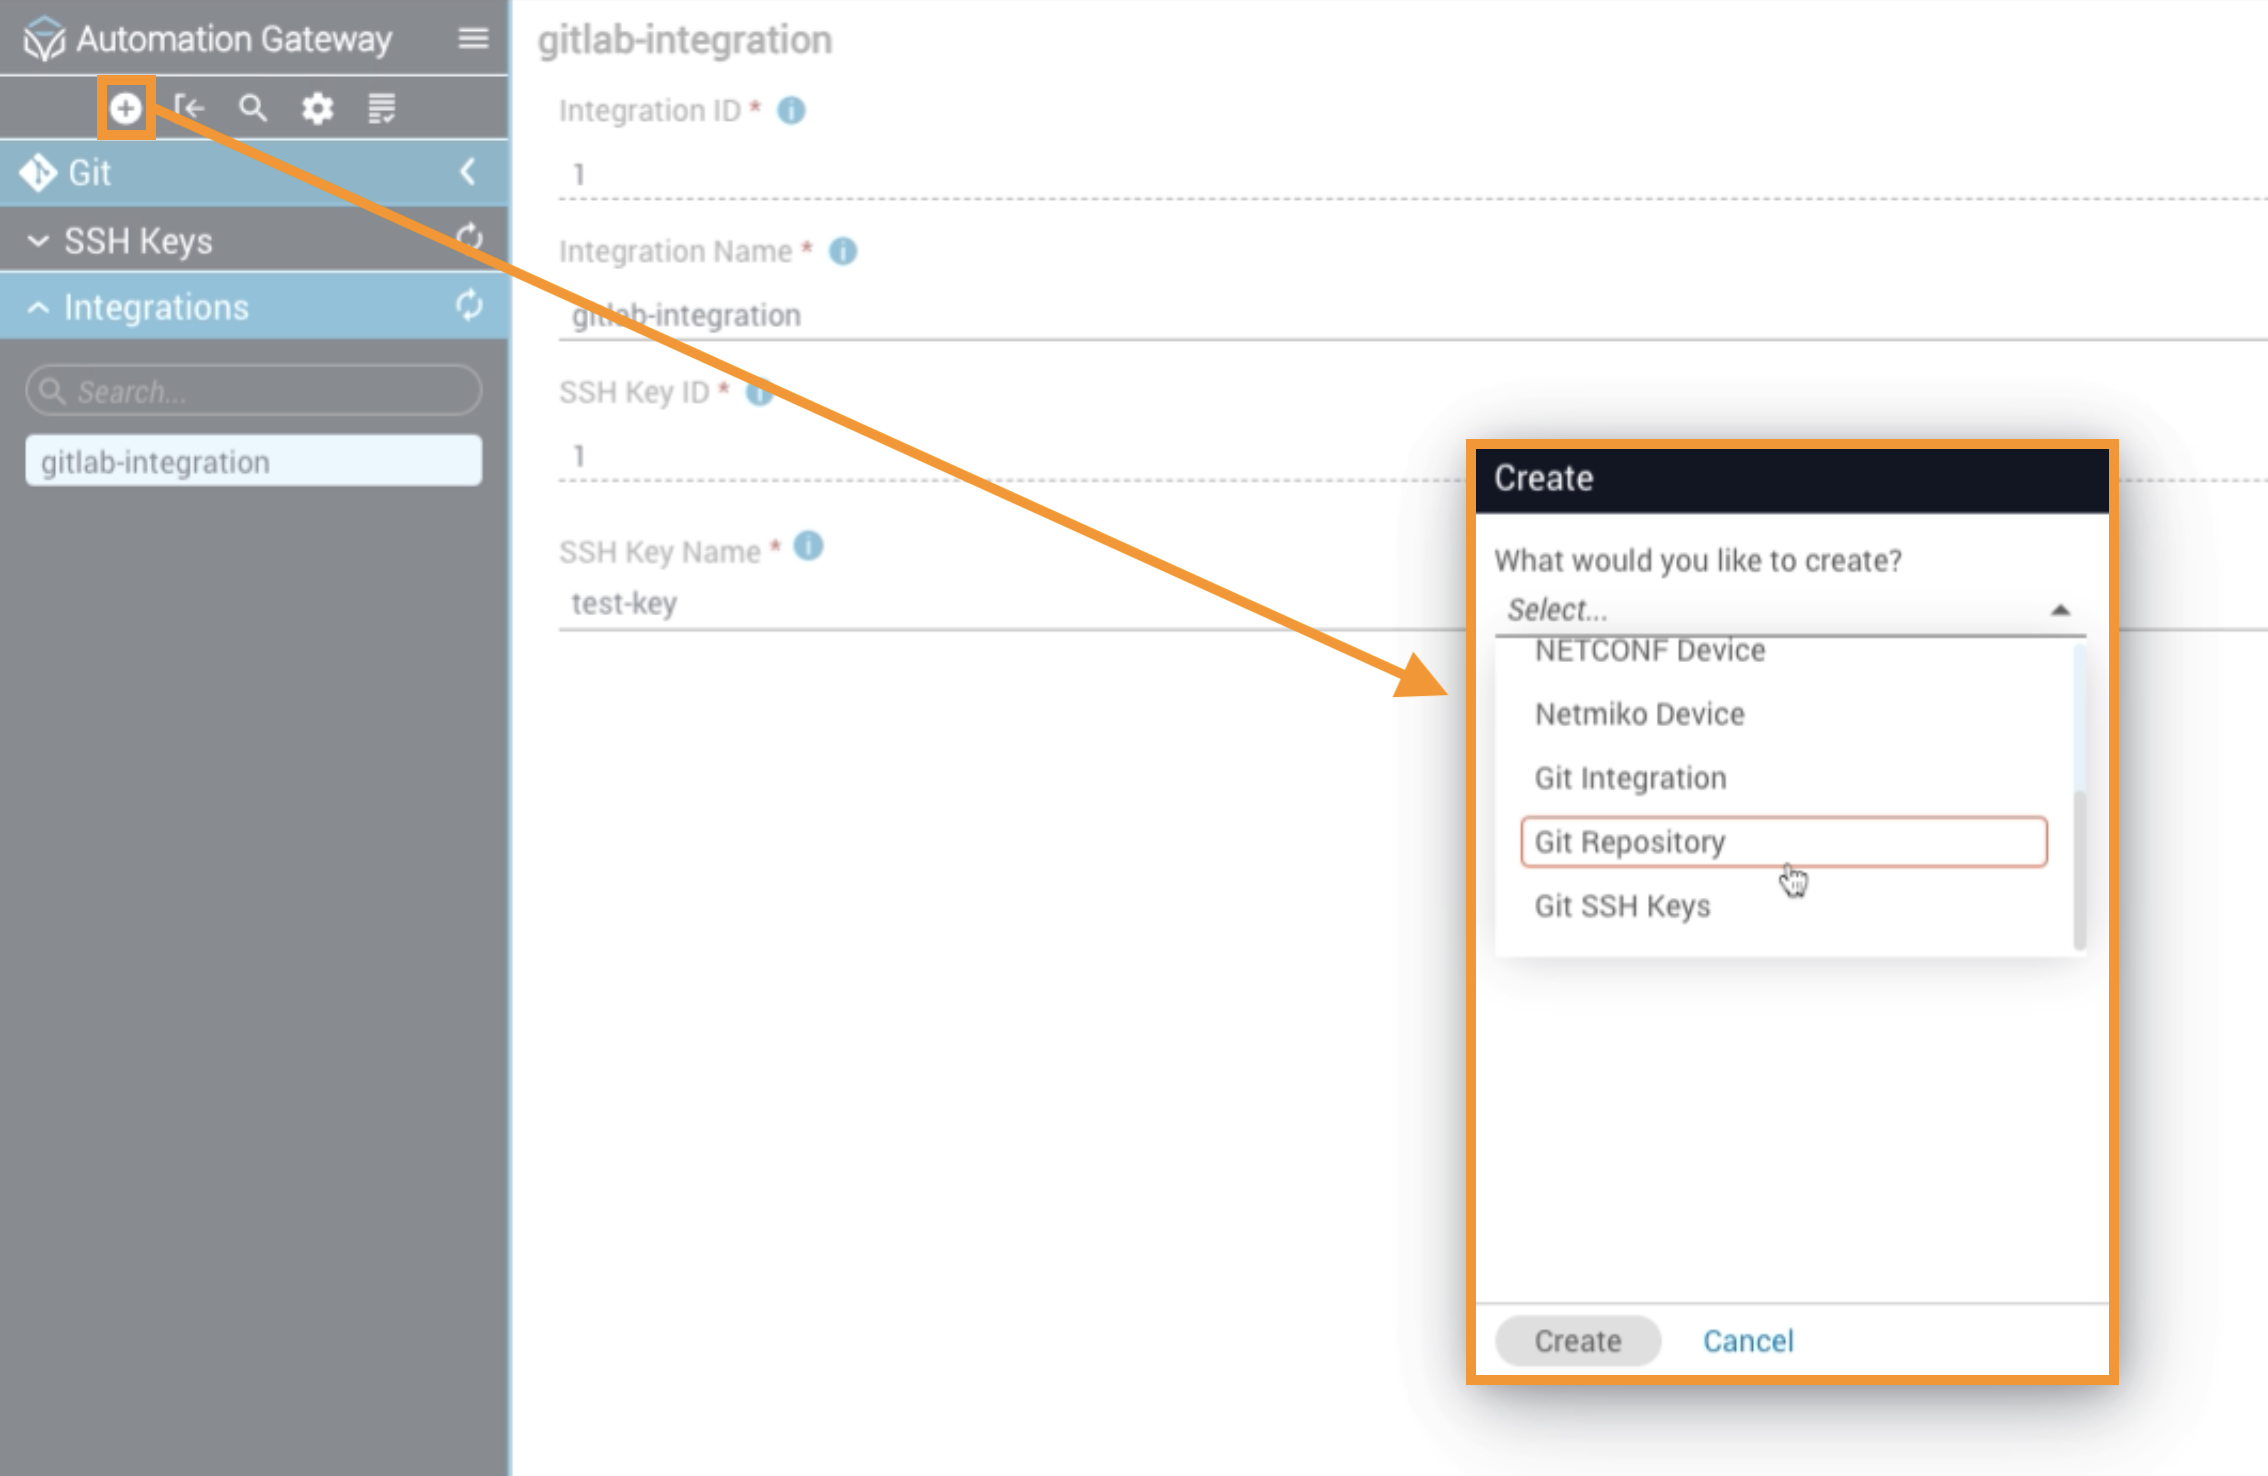
Open the Create dialog
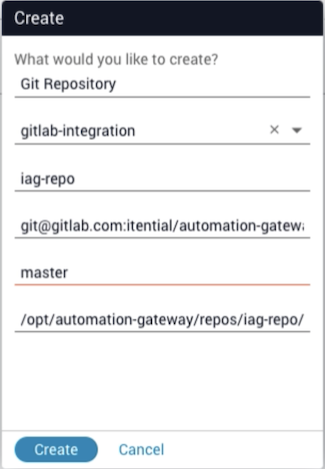
Click the ”+” in the top toolbar to open the Create dialog. Scroll down the list and select Git Repository and then click Create.
Configure the repository
Select the integration that was created above and enter a name for this repository. Copy the SSH key from Git (i.e., use the Clone button in GitLab) and paste it into the Repository field. Next, choose the necessary code branch (in this case it is called “master”). This will be the location on the server where the repository is stored. In the example below, /opt/automation-gateway/repos/iag-repo/ is the location where the integration can be found. To clone and download the repository, click Create.
View the repository
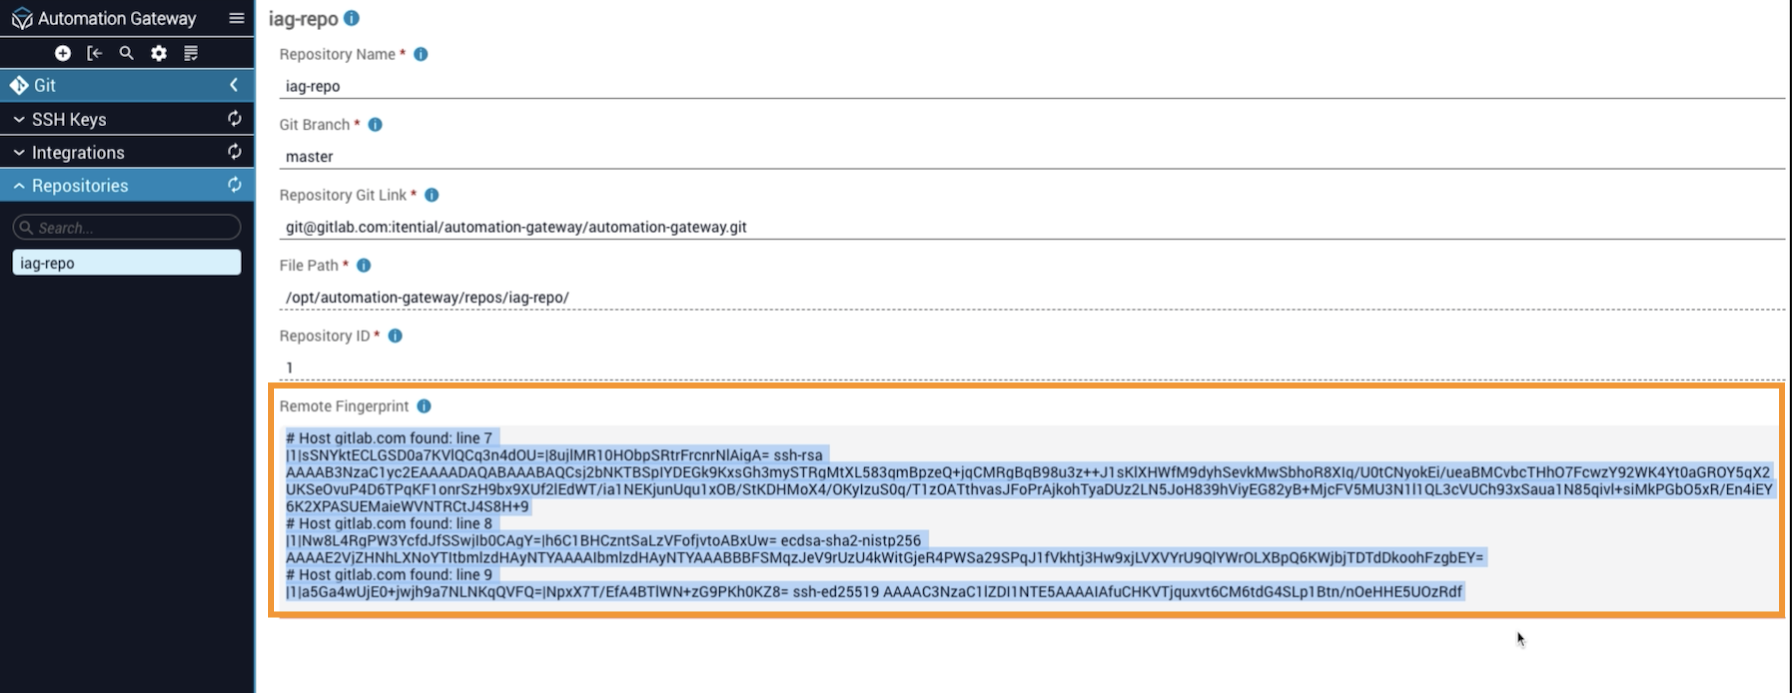
Click on the Repository tab in the left navigation menu and the repository name will be displayed. Click on the repository name to view information related to the repository. The Remote Fingerprint will display a unique identifier for the Host Key Check In. In the example below, multiple Host Keys have been added and are shown for the Host Key Check In.
Repository controls
In the footer (under the Remote Fingerprint), there are repository controls where you can Pull repo data, Reset repo data (if making any changes locally on the server — resetting will go back to the last commit), Delete data, or Reset the Fingerprint (this will remove the data shown under the Remote Fingerprint).

Import script configurations
Import decorations
Importing decoration scripts into the repo is an efficient way to save time without having to make edits to the decorations.
Navigate to Decorations
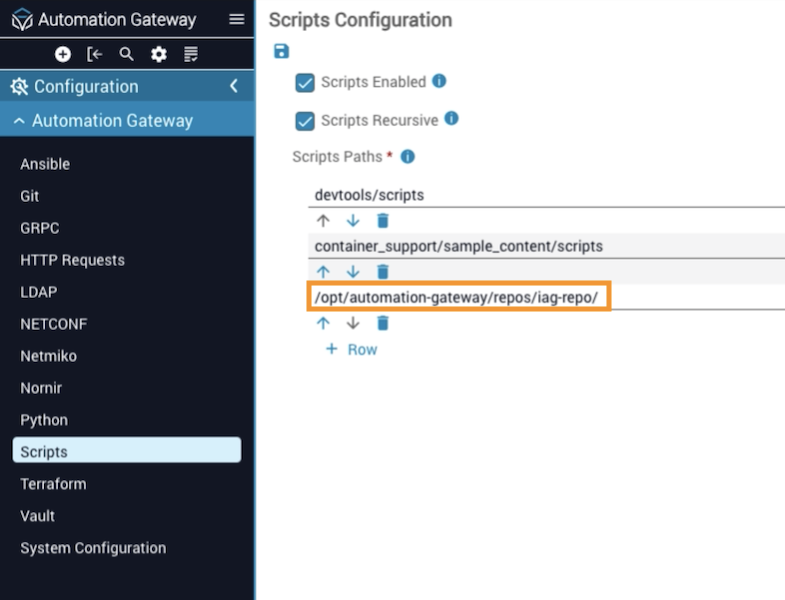
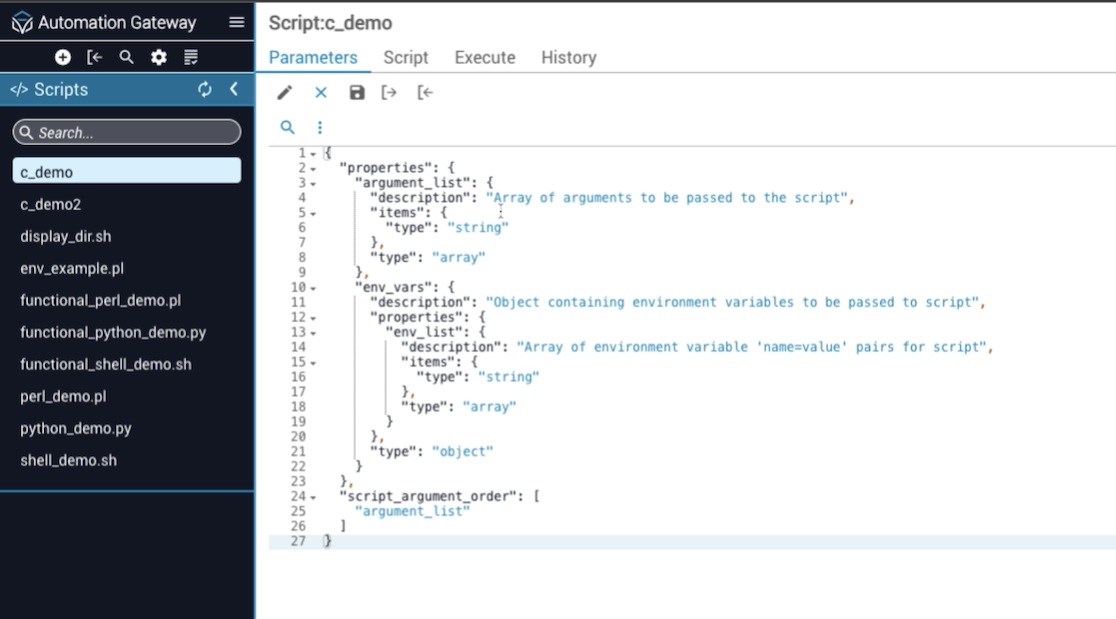
Go to Configurations in the left-hand navigation and click Scripts. Under the Parameters tab, various decorations will be shown. Select a Decoration and click the pencil icon to edit it. The decoration is a script built from a JSON object with type, item, and arguments that will get passed on when the decoration is used.
Pull from Git
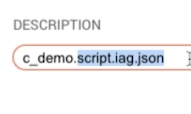
When a Git Pull is done, the decoration pattern will be found using the file name (example: C_demo.scripts.iag.json). The parameters will be imported into IAG and saved to the database. Anytime there is a Git Pull from the repo, the decorations are saved into the database and can be located by their unique name attached to scripts.iag.json.
If the script, playbook, or module is not named with this exact suffix (e.g., name.type.iag.json), it will not be imported on a Git Pull.
Collection modules are not supported and cannot be decorated automatically for a Git Pull.