Manage integrations

Integrations connect Itential Platform to external systems using the settings defined in an integration model. This page explains how to create, configure, and troubleshoot integrations in Admin Essentials.

Available actions depend on your user permissions.

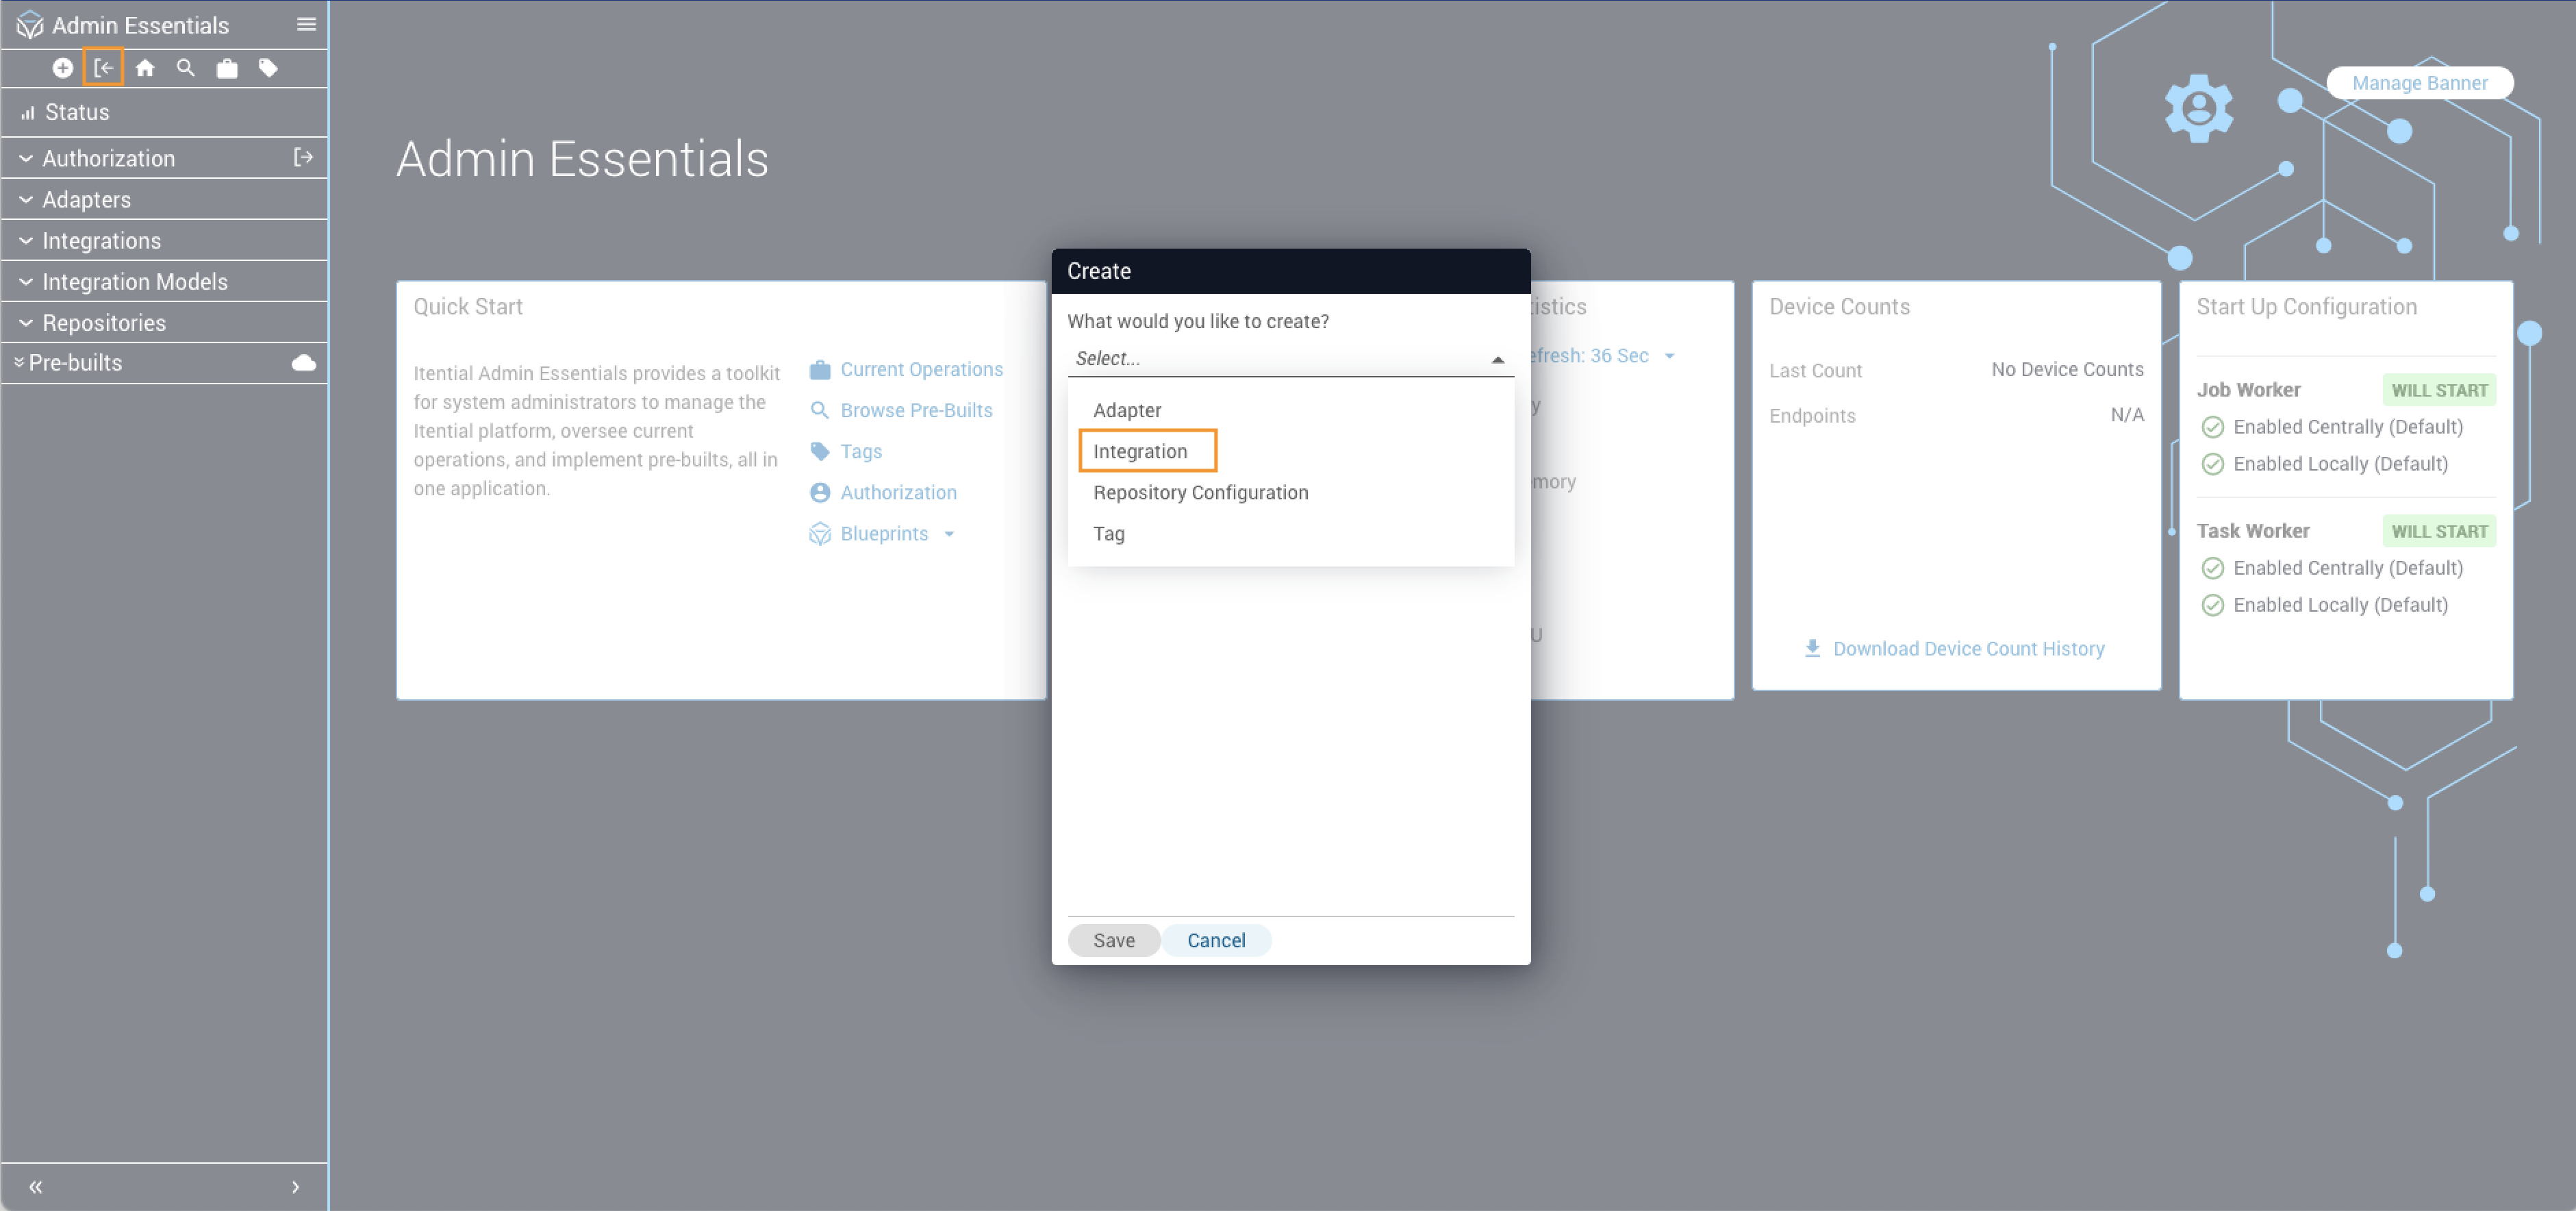
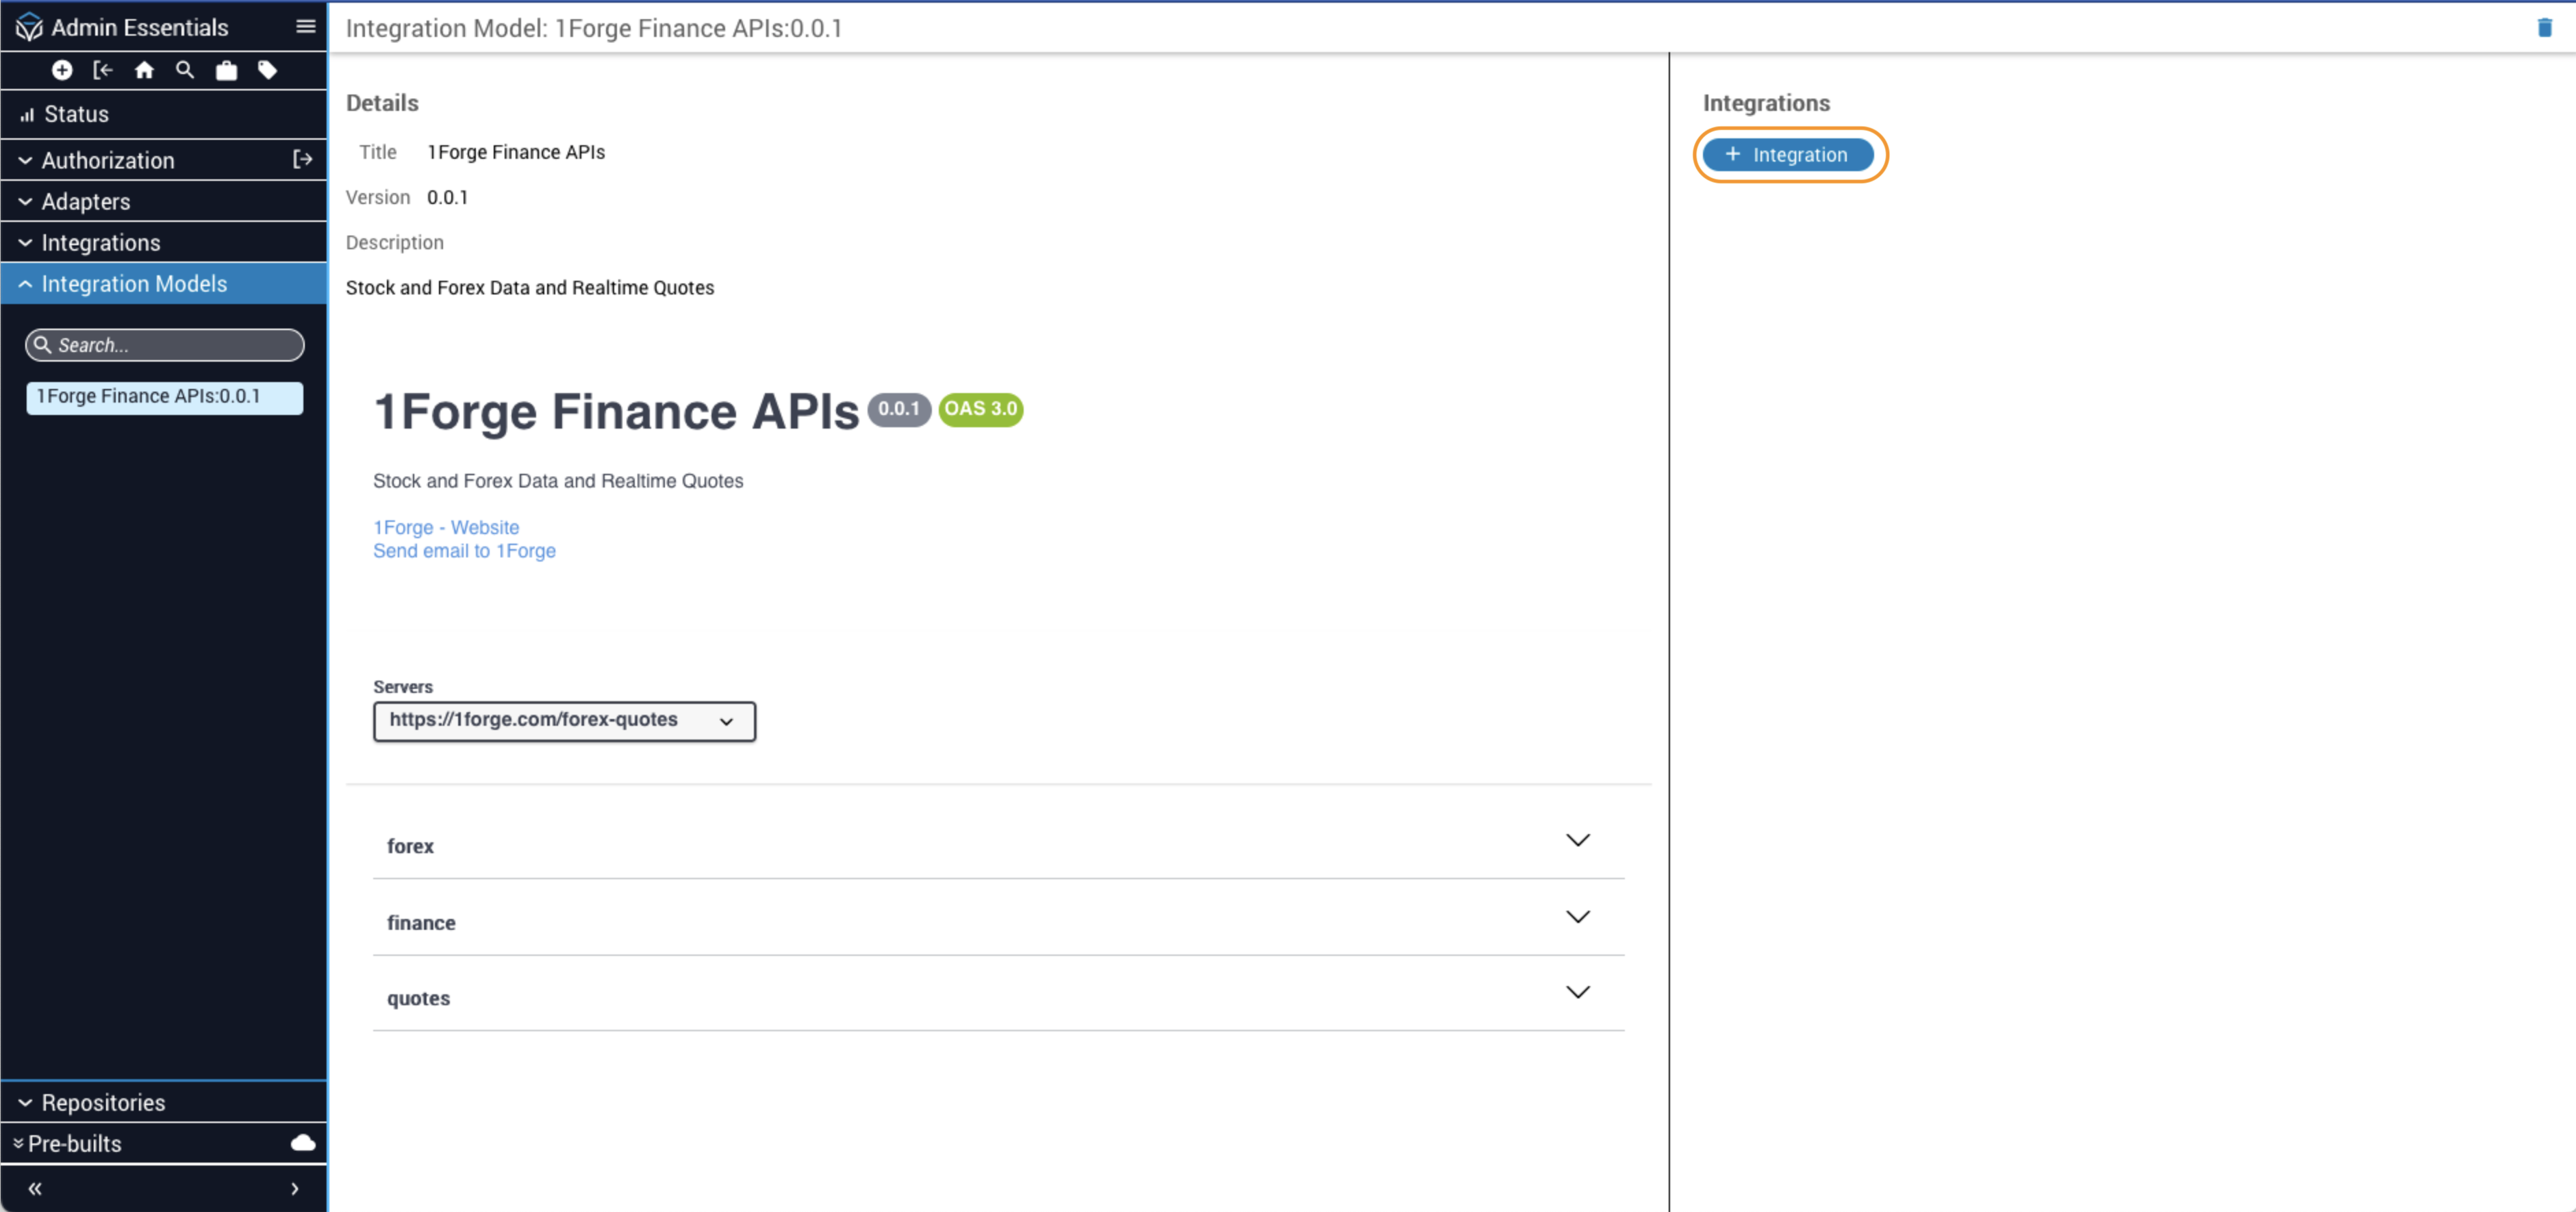
Create an integration

1

Open the Create dialog

In Admin Essentials, click the plus (+) icon in the top-left toolbar.

Alternatively, open an integration model’s details view and click + Integration.

Create integration dialog
2

Select a model and save

Select an integration model and click Save.

New integration from integration model

Configure an integration

Open an integration to view its details. The Configuration tab displays the integration’s settings as a form.

Integration configuration tab

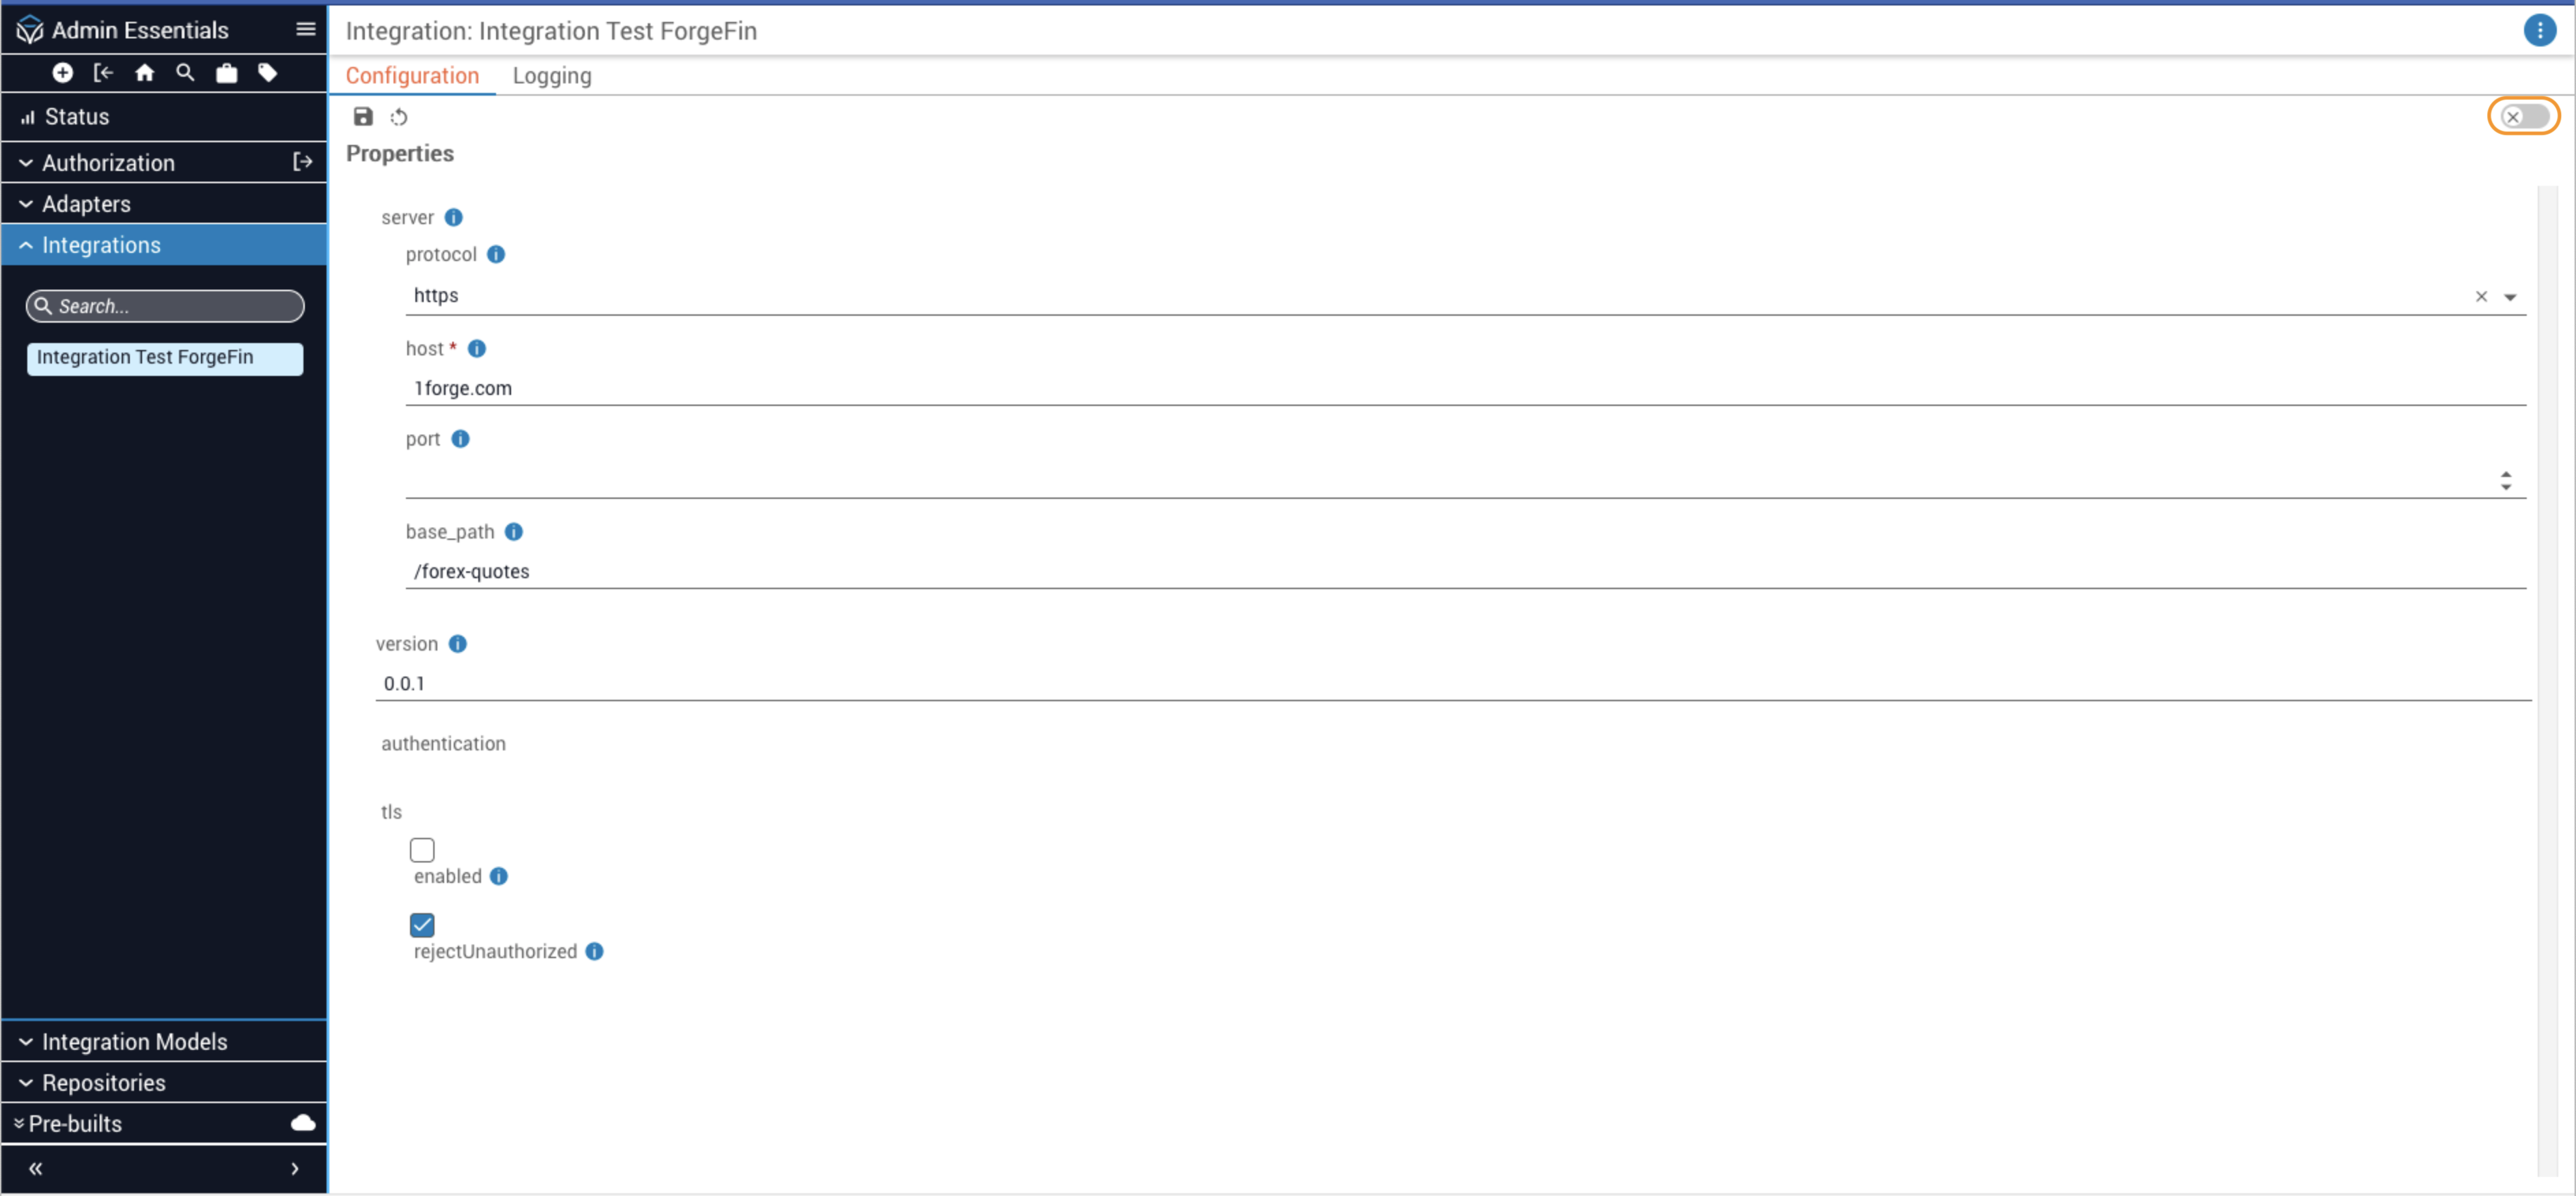
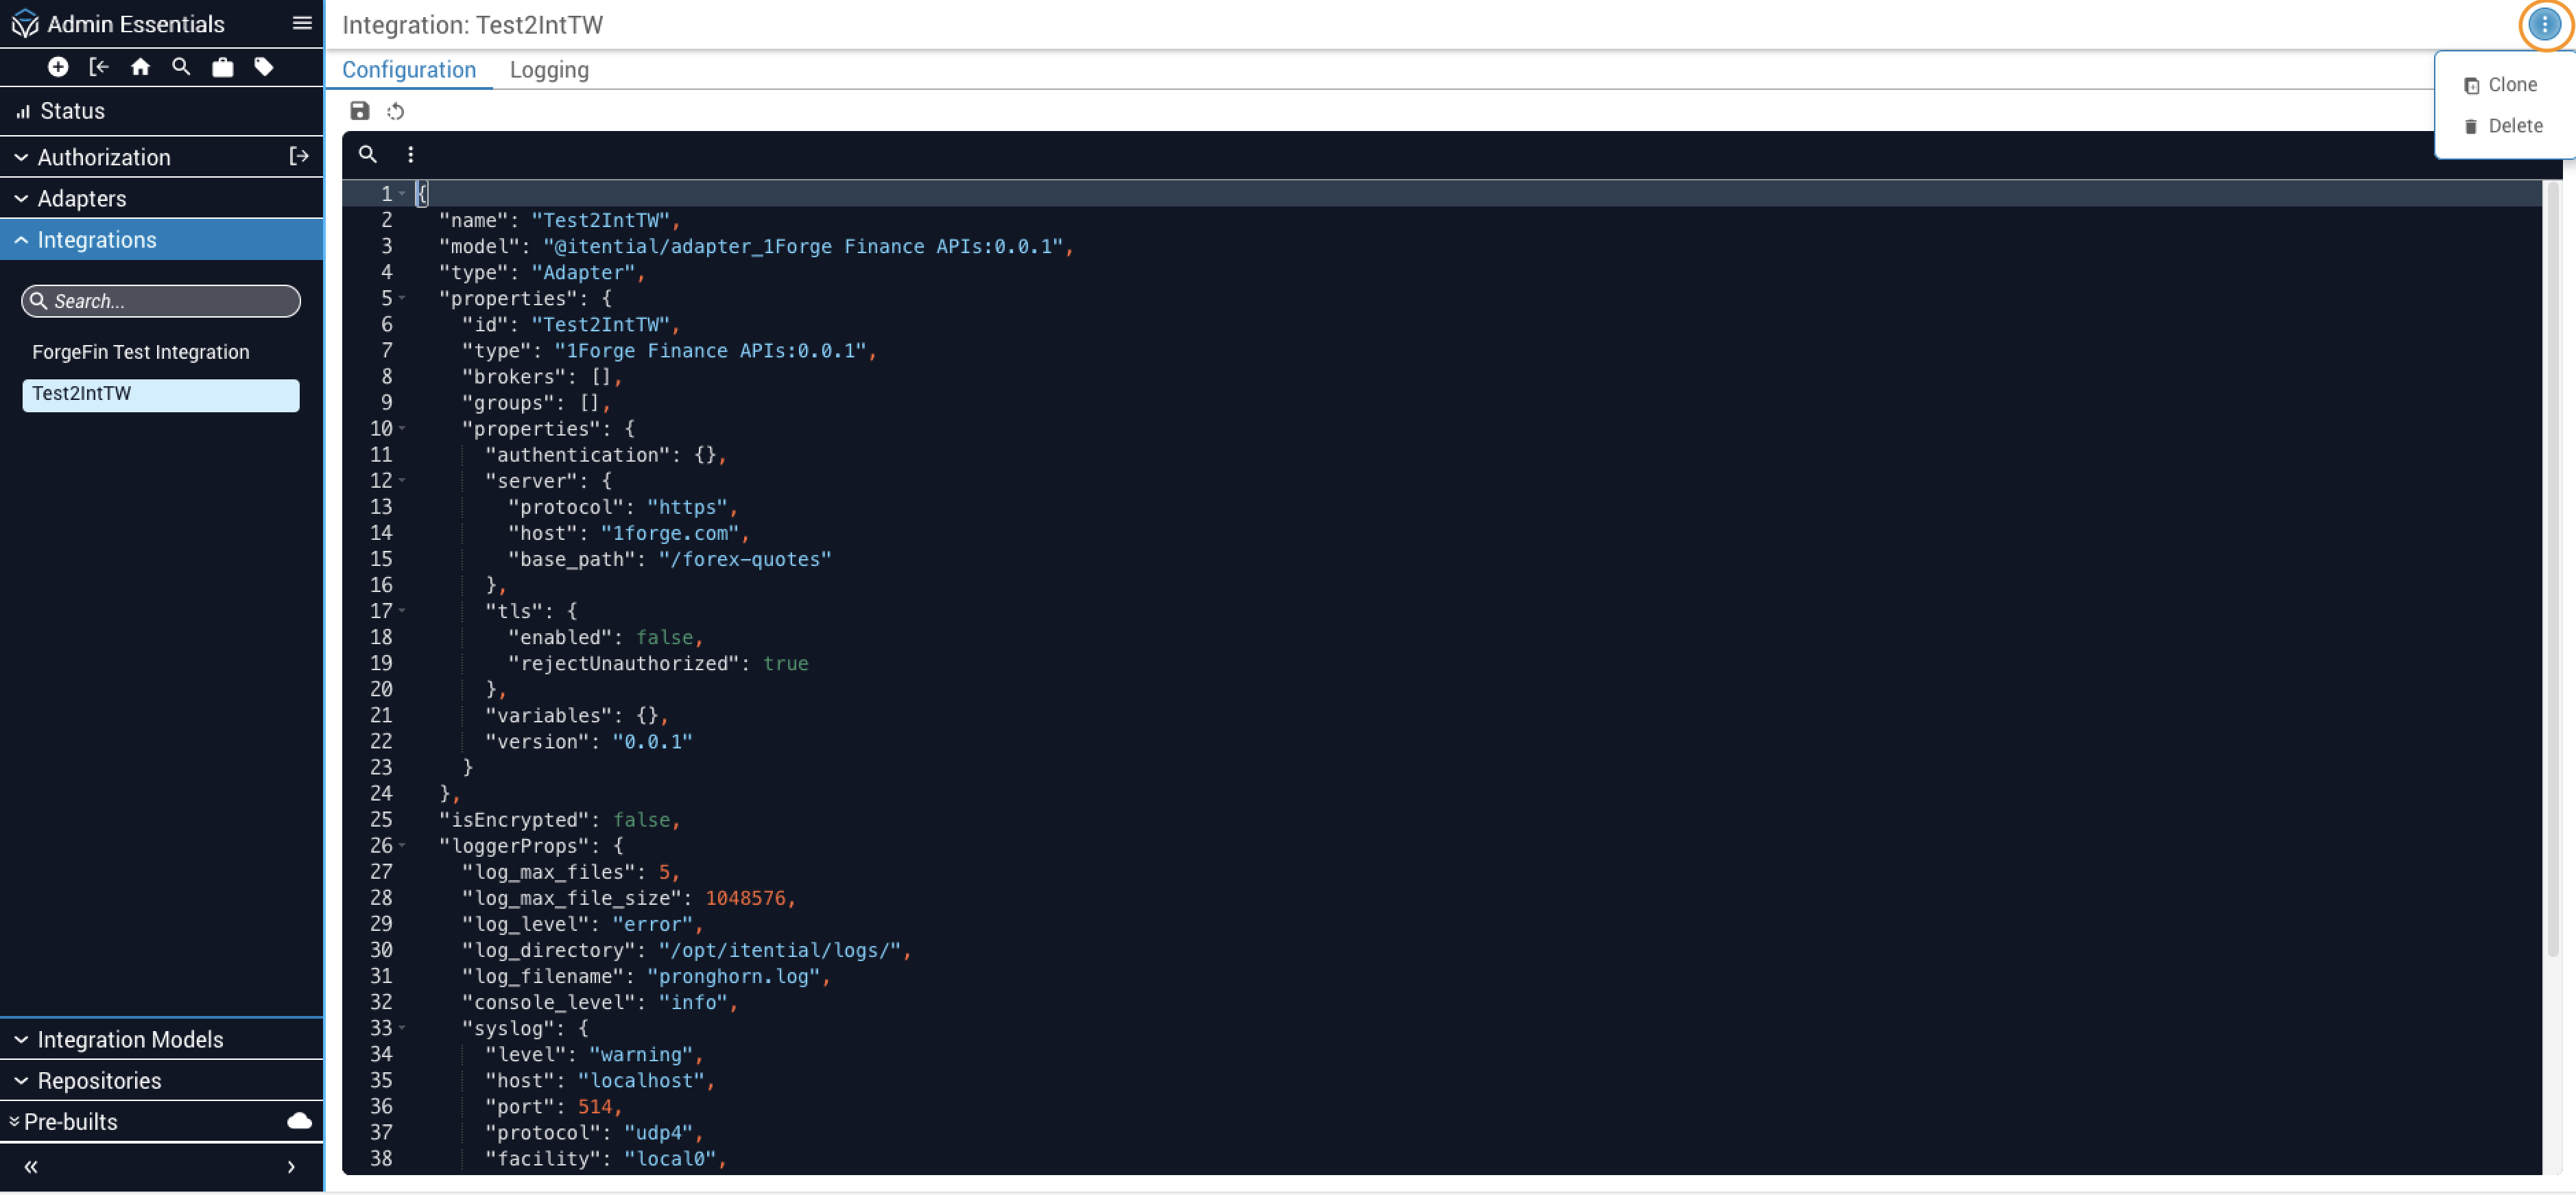
If a setting is not available in the form, toggle Advanced View in the upper-right corner to edit the configuration directly as JSON. From the Advanced View, click the More button (stacked dots icon) to clone or delete the integration:

  • Clone: requires the Integrations - createIntegration permission
  • Delete: requires the Integrations - deleteIntegration permission
Advanced configuration view

Server

The Server settings define how Platform connects to the external system.

FieldTypeRequiredDescription
ProtocolStringNoProtocol used to connect to the server. Options: http, https. Default: http.
HostStringYesThe server’s hostname or IP address.
PortIntegerNoPort used to connect to the server. Valid range: 1–65535.
Base pathStringNoA base path prepended to all API requests. Example: /system/api.
VersionStringNoThe API version this integration supports. Example: v1, v2.6.

Authentication

Authentication fields depend on the security scheme defined in the integration model.

API key

FieldTypeRequiredDescription
ValueStringYesThe API token or cookie value used for authentication.

If the integration model enables dynamic retrieval, the Value field is not required. Instead, configure the following fields to retrieve the API key automatically at runtime:

FieldTypeRequiredDescription
MethodStringYesHTTP method used to retrieve the API key. Options: GET, POST, HEAD, PUT, PATCH.
URLStringYesTarget URL to fetch the API key from.
Response pointerStringNoJSON Pointer to extract the API key from the response body. Leave blank to use the entire response body.

HTTP Basic

FieldTypeRequiredDescription
UsernameStringYesUsername for authentication.
PasswordStringYesPassword for authentication.

HTTP Bearer

Enter the bearer token directly as a string. The entire authentication credential is the token value itself — there are no named sub-fields.

AWS Signature v4

FieldTypeRequiredDescription
Access Key IDStringYesAWS access key ID.
Secret Access KeyStringYesAWS secret access key.
Session TokenStringNoAWS session token.

OAuth 2.0 — Client Credentials

FieldTypeDescription
Client IDStringClient ID of the application.
Client SecretStringClient secret of the application.
Token URLStringToken endpoint URL.
Refresh URLStringRefresh token endpoint URL.
ScopeStringScope(s) for the application. Separate multiple scopes with a space.
Auth methodStringHow client credentials are transmitted. Options: client_secret_basic (in the Authorization header) or client_secret_post (in the request body). Default: client_secret_post.

Platform retrieves and stores the access token automatically when credentials are provided. You can optionally pre-populate access_token or refresh_token in Advanced View if you already have a valid token.

OAuth 2.0 — Password

Includes all Client Credentials fields above, plus:

FieldTypeDescription
UsernameStringUsername for the service.
PasswordStringPassword for the service.

OAuth 2.0 — Authorization Code

Includes all Client Credentials fields above, plus:

FieldTypeDescription
Authorization URLStringURL to redirect to for granting permissions and retrieving an authorization code.

OpenID Connect

Includes the same fields as OAuth 2.0 Client Credentials, except Token URL, which is discovered automatically from the identity provider. Additional fields are populated dynamically from the provider’s OpenID Connect discovery document.

Mutual TLS

FieldFormatDescription
CertificatePEM (data URL)Client certificate.
KeyPEM (data URL)Private key.
CAPEM (data URL)Certificate authority.

TLS

TLS settings control how Platform handles HTTPS connections to the external system.

FieldTypeDefaultDescription
EnabledBooleanfalseWhen enabled, Platform requests and verifies TLS certificates from the endpoint.
Reject unauthorizedBooleantrueWhen enabled, rejects connections that do not have a valid certificate authority (CA). Applies only when Enabled is on.

Timeout

FieldTypeDescription
TimeoutIntegerTime in milliseconds to wait for a server response before the request times out.

Gateway cluster override

Platform 6.4+

By default, integrations use the cluster and execution settings defined in Gateway Configuration. Use cluster override to execute integration requests from this cluster. When enabled, these settings take precedence over the Gateway Configuration defaults.

FieldTypeDefaultDescription
Override clusterBooleanfalseWhen enabled, this integration uses the cluster specified in Cluster ID.
Cluster IDStringThe gateway cluster to execute requests from. Required when Override cluster is enabled.

Proxy override

Platform 6.4+

By default, integrations use the proxy settings defined in Gateway Configuration. Use proxy override to set custom proxy behavior for this integration. When enabled, these settings take precedence over the Gateway Configuration defaults.

FieldTypeDefaultDescription
Override proxy behaviorBooleanfalseWhen enabled, this integration uses the proxy settings defined here instead of the Gateway Configuration defaults.
Execution modeStringdirectHow to execute requests. Options: direct, cluster_no_proxy, or proxy.
  • direct: Bypass the gateway and connect directly to the target system.
  • cluster_no_proxy: Execute requests through the gateway without a proxy.
  • proxy: Execute requests through the gateway with a proxy server.

When Execution mode is set to proxy, configure the proxy server:

Proxy server

FieldTypeDescription
HostStringThe proxy server’s hostname or IP address.
PortIntegerPort used to connect to the proxy server. Valid range: 1–65535.

Proxy authentication

FieldTypeDefaultDescription
Auth modeStringnoneAuthentication mode for the proxy server. Options: none, basic, secrets_manager.
UsernameStringUsername for basic auth, or the lookup key when using secrets_manager.
PasswordStringPassword for basic auth, or the lookup key when using secrets_manager.

Assign integration roles

When you create an integration, Itential Platform automatically generates a set of roles for it. There is one admin role for the integration, plus one role for each HTTP verb supported by the integration model. For example, GET, POST, DELETE.

Users must be assigned the appropriate roles before they can invoke the integration’s tasks in a workflow.

To assign roles:

1

Go to Roles

In Admin Essentials, go to Authorization > Roles.

2

Filter by integration

Filter the Source column by the name and version of the integration model associated with your integration. For example, Hello World:2.0.0.

3

Assign roles

Assign the appropriate roles to the relevant users or groups.

For more information about how to grant permissions, see Roles.

Use an integration in a Studio workflow

Each endpoint in the integration model appears as a workflow task in Studio. For example, if you create an integration called Hello World, that integration will appear as a set of tasks in the canvas task palette. Add these tasks to a make API calls to a coresponding endpoint.

Configure logging

Logging settings are configured individually for each integration. Changes take effect immediately and do not require a restart.

To update the log level for an integration:

1

Open the integration

Open the integration’s details in Admin Essentials.

2

Go to the Logging tab

Select the Logging tab.

3

Set the log level

Adjust the log level.

To configure logging to an external Syslog system:

1

Enable Advanced View

In the Configuration tab, enable Advanced View.

2

Add Syslog connection properties

Add the Syslog connection properties to the JSON configuration.

3

Set the Syslog log level

In the Logging tab, set the Syslog log level.

For related reading, see Logging in Itential Platform, Log Class, and Integration Models.

Troubleshoot integration errors

When an integration fails to connect to an external system, Platform returns error details to help diagnose the issue.

Understand output errors

A failed integration task returns one of two error types:

  • String: The integration did not have the information needed to make the API call. The string explains why.
  • Object: The API call reached the target server but returned a failure response. The object contains fields from the server’s response body.

Response body fields

Platform standardizes the integration response body with the following fields:

FieldDescription
oktrue if the response was successful; false if it failed.
methodHTTP verb of the call: GET, POST, PUT, PATCH, or DELETE.
urlURL of the call.
statusHTTP status code returned by the server.
statusTextDescription of the HTTP status code.
headersArray of response headers.
bodyParsed response body. Populated when Platform can parse the response.
textRaw response text. Returned when the response body cannot be parsed as JSON.
parseErrorParsing error details, when a parsing error occurred.

For some workflows (for example, clientCredentials), Platform automatically requests new access tokens or uses refresh tokens. If the token request fails, the error object may reference a POST to api/v1/token even if the original integration task was a GET. This indicates that the token request failed before the integration could attempt the API call.

Example: success response

1{
2 "ok": true,
3 "method": "GET",
4 "url": "http://localhost:8088/pet/7119",
5 "status": 200,
6 "statusText": "OK",
7 "headers": {
8 "connection": "close",
9 "content-type": "application/json",
10 "date": ["Fri", "05 May 2023 17:48:43 GMT"],
11 "transfer-encoding": "chunked",
12 "x-powered-by": "Express"
13 },
14 "body": {
15 "id": 7119,
16 "tags": [],
17 "status": "available",
18 "name": "Lotus",
19 "photoUrls": [
20 "https://patchpuppy.com/wp-content/uploads/2022/06/WhatIsanAmericanBlackLab.jpg.webp"
21 ]
22 }
23}

Example: error response

1{
2 "ok": false,
3 "method": "GET",
4 "url": "https://petstore.swagger.io/api/v3/store/invenxxxtory",
5 "status": 404,
6 "statusText": "Not Found",
7 "headers": {
8 "access-control-allow-headers": ["Content-Type", "api_key", "Authorization"],
9 "access-control-allow-methods": ["GET", "POST", "DELETE", "PUT"],
10 "access-control-allow-origin": "*",
11 "cache-control": "must-revalidate,no-cache,no-store",
12 "connection": "keep-alive",
13 "content-length": "309",
14 "content-type": "text/html; charset=ISO-8859-1",
15 "date": ["Wed", "26 Feb 2025 14:02:35 GMT"],
16 "server": "Jetty(9.2.9.v20150224)"
17 },
18 "text": "<html>\n<head>\n<meta http-equiv=\"Content-Type\" content=\"text/html; charset=UTF-8\"/>\n<title>Error 404 Not Found</title>\n</head>\n<body><h2>HTTP ERROR 404</h2>\n<p>Problem accessing /api/v3/store/invenxxxtory. Reason:\n<pre> Not Found</pre></p><hr><i><small>Powered by Jetty://</small></i><hr/>\n\n</body>\n</html>\n",
19 "parseError": {
20 "name": "YAMLException",
21 "reason": "end of the stream or a document separator is expected",
22 "mark": {
23 "name": null,
24 "buffer": "...",
25 "position": 211,
26 "line": 6,
27 "column": 55
28 },
29 "message": "end of the stream or a document separator is expected (7:56)"
30 }
31}

If you cannot determine the cause of the error, contact Itential’s Product Support Team.