Use Lifecycle Manager actions
Although automations most commonly trigger workflow execution, they also work with many other Platform assets, including Lifecycle Manager (LCM) actions.
This page explains why LCM actions benefit from automation and how to automate them.
Before you begin
Familiarize yourself with the following before proceeding:
Why automate LCM actions
Lifecycle Manager actions are used to create new instances, update instance properties, and delete existing instances. You might automate these actions based on a schedule or in response to an API request.
Example use case
Organization A manages its network intrusion detection system (NIDS) via LCM. It has created the following resource model and an accompanying instance to represent the NIDS:
The software developer publishes updates to the NIDS library of attack definitions daily. Organization A has developed an update action that checks the developer’s website for these definitions and, if present, downloads them to the NIDS, updating the definitionsLastUpdated property in turn. Because this action runs daily, Organization A assigned it to an automation that runs via a schedule trigger.
Create a lifecycle automation
Open the Create Automation modal
Click the Create + button at the top of the side navigation menu. The Create Automation modal opens.
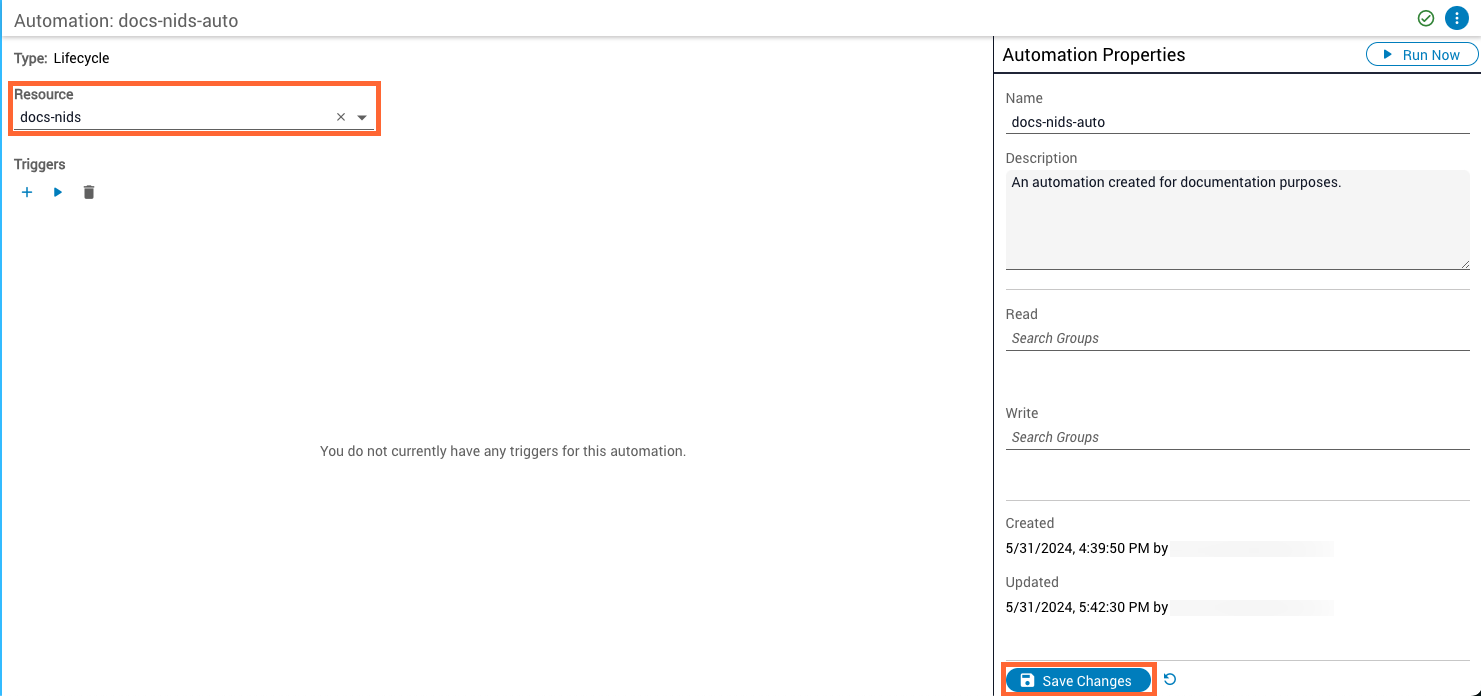
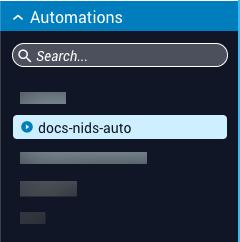
Lifecycle automations are denoted in the side navigation menu by the Run icon.
Add triggers to a lifecycle automation
Lifecycle triggers generally follow the same conventions as workflow triggers, with a few notable exceptions.
Action and target selection
Each trigger type runs the selected resource’s actions against its instances or instance groups. Select the action to execute using the Action dropdown menu on the Create Trigger panel.
The available actions correspond to the create, update, or delete actions defined for the Resource Model in Lifecycle Manager. The behavior and targeting options vary depending on the action type you select. For more information, see Types of actions.
Create actions
When you select a create action:
- Platform 6 automatically generates the instance name when the action executes.
- You cannot specify an instance description during the create process.
- You cannot assign the instance to an instance group during creation, but you can add it to a group afterward through Lifecycle Manager.
- Target selection is not applicable since you’re creating a new instance rather than acting on an existing one.
Update actions
When you select an update action:
- You can specify either a target instance or instance group to update.
- Use the target selection options described below to determine which instances receive the updates.
- All properties defined in the Resource Model schema can be modified through the update action.
Delete actions
When you select a delete action:
- You can specify either a target instance or instance group to delete.
- Use the target selection options described below to determine which instances are removed.
- Deleted instances are permanently removed from Lifecycle Manager.
Target selection options
After selecting your action, designate a target instance or instance group for update and delete actions. The different trigger types have varying levels of flexibility in how they handle targeting:
- Schedule and event triggers must have their target pre-determined as part of their configuration. This target does not change unless you edit the trigger.
- Manual and API triggers can select their target at runtime. To do this, toggle the Choose target at runtime switch on the Create Trigger panel. When enabled, manual triggers prompt you to supply target information via the Run Automation panel, and API triggers must query the desired target directly via the
targetTypeandtargetIdentifierparameters.
API triggers using runtime targeting require the following query parameters:
Example request:
POST {iap_server}/operations-manager/triggers/endpoint/{route_name}?targetType=instance&targetIdentifier=665a42a06103515d676bae41
For more information, refer to the Itential API Reference.
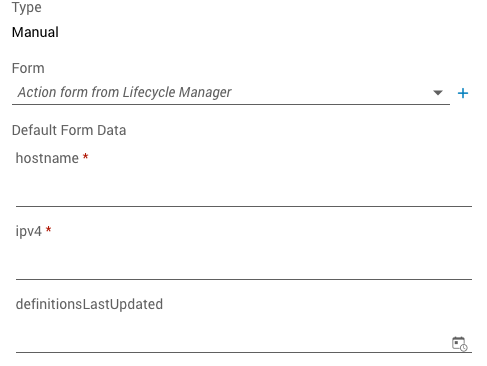
Input forms (manual and schedule triggers)
By default, lifecycle automations derive user input forms from the model of their associated resource. If you do not want to use an LCM-derived input form, you can select a pre-constructed form instead.
Trigger cards
Lifecycle trigger cards contain the following properties: